Dining Room Decoration (with Shelf Installation Tutorial)
Hey all! I've been installing a good amount of shelves here at our new place, and thought I'd do a quick tutorial on how I've been making sure they're nice and secure.
Today I moved some items out of my office from this wall, as they didn't really fit the space very well:
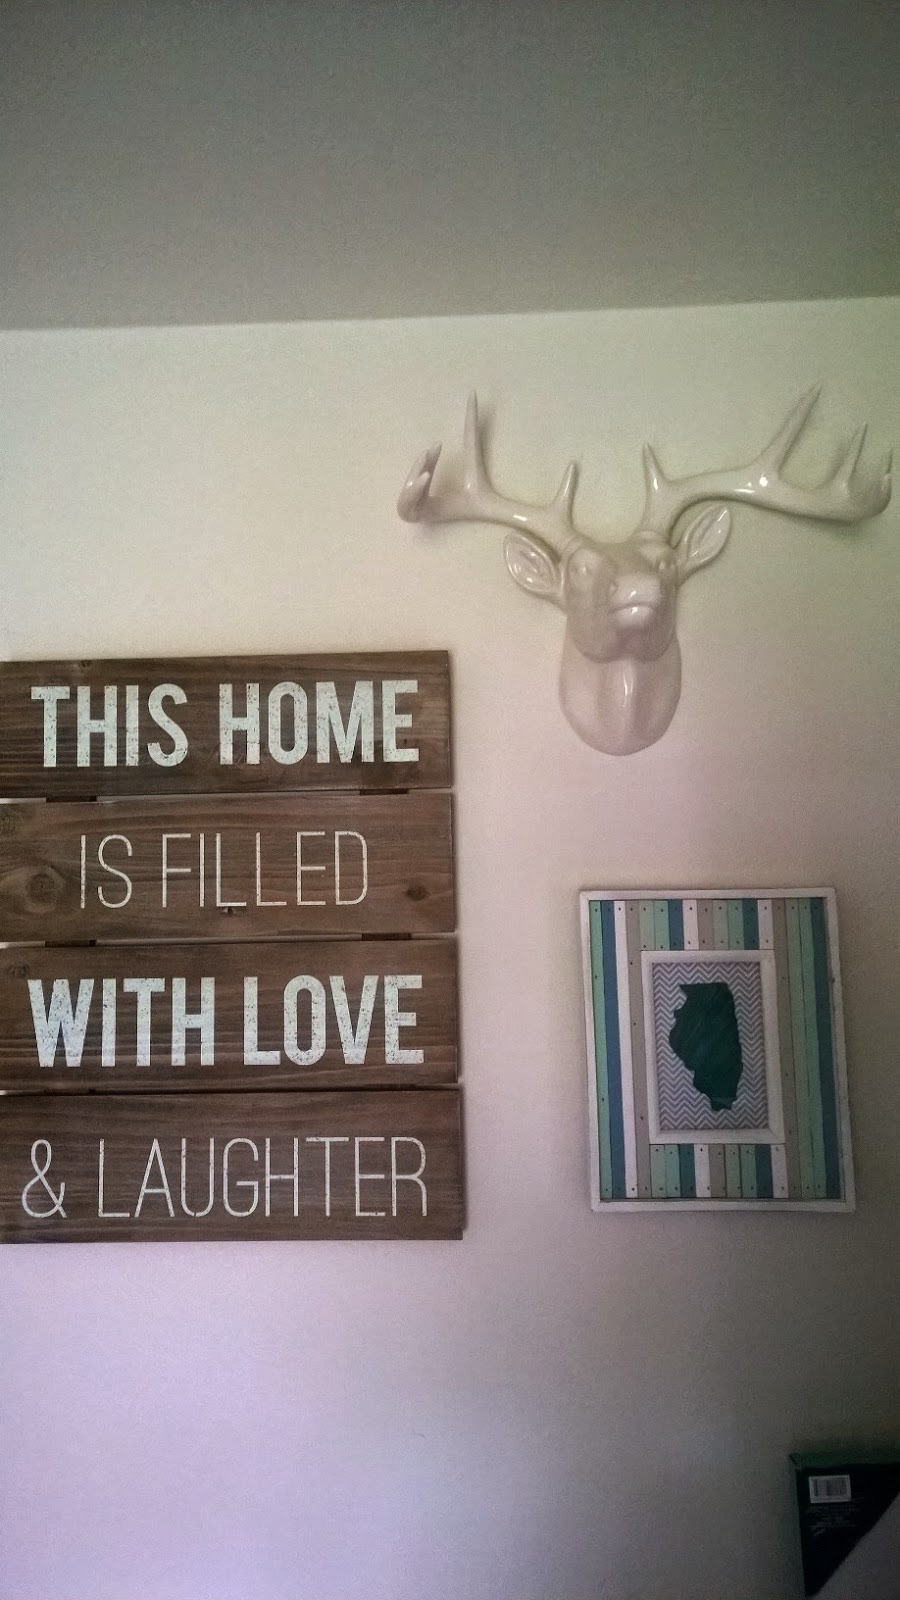


Today I moved some items out of my office from this wall, as they didn't really fit the space very well:
While I really liked this arrangement, it just didn't fit the space. So I grabbed the wooden pieces and went downstairs. Our dining room had my giant clock on the wall, but that was it. It wasn't awful, but it was plain. And since the kitty litter is in the basement, we had to have the basement door open all of the time, which took up a good chunk of the wall (this picture is from the very beginning of the move, so bear with the mess):
Hannah and I took the basement door off. Who needs it anyways in this house? Not us, so downstairs it went. And up went some pieces from the office (okay so still a mess, but not as bad):
But there was still a naked space to the right of the clock that needed to be addressed. So I grabbed a couple of shelves that I had laying around.
So here's where the work begins. You will need the following supplies:
- shelves (obviously!)
- wall anchors
- screws
- drill with bits
- hammer
- screwdriver
- level
- pencil
- extra set of hands
- First, you'll need someone to help you decide where you're going to hang the shelves. I had Hannah hold them up for me to make sure I liked where they'd sit.

- Then you'll need to level out the shelf to make sure it's even all the way across. You don't want to have things rolling/sliding off once these are on the wall. I picked my level up at Dollar Tree, so you don't need to spend a lot of money if you don't own one. You can mark about where you'll need to do the holes with your pencil at this point.

- In my case I needed to measure about an inch and a half below where I had made my marks so that the top of the shelf would line up where we originally had it. I also had to space the marks 18" apart on the wall.


- This is where you'll need your drill and bit. You'll need a bit that's as big around as your anchors. Drill into the wall until you feel that you've made it all the way through. You'll feel a give once you've made it through. Do this for both sides. Some shelving brackets may require two screws per bracket, but luckily these only required one.


- Now grab your anchors and your hammer. simply push the anchor in as far as you can with your hands, and then hammer in the rest of the way. The anchors should be flush with the wall.


- With my shelves, this was the last step. All I had left to do was put in the screws and hang my shelves up on the wall. Most brackets will require you to thread the screw through the bracket itself, but these hang much like a picture frame.

- Style your shelves, sit back, and enjoy your handy work!
Over all I'm happy with the result, but I can't wait to finally have this room clean all of the time! It's kind of become the dumping ground when Aaron and I get home from work. Lunch bags, keys, purse, mail, anything and everything ends up on this table.
I also still haven't filled the turquoise frame with anything yet, but I'm sure I'll find something simple soon to fill the white space.
And check out these book ends that I picked up at an antique shop! They're adorable, and I would love to put some books in between them, but I don't have any books that fit on these shelves, so for now, they'l just sit here as decoration.
And we can't forget my ceramic rum people. This lady I picked up at Goodwill with her ninja partner.
And here is my "WHOO!" guy that Aaron's mom gave me. He's the one that started it all....
This house is starting to feel a little bit more like a home every day! One small project at a time, I'll finish this place up, and then we can get back down to the nitty gritty of DIY, recipes, and way more in depth tutorials. In fact, I have a few stellar supplies I haven't decided on a purpose for yet, and a few simple projects up my sleeves, so we're already on the way!


Comments
Post a Comment