Bulletin Board Makeover: Part 1

Brown, crumbly corkboards are alright when they’re overly
coated in pictures and drawings and god-knows-what else. But what about when
you’re older and all you’ll use it for is grocery lists (ahem…project lists),
notes to yourself, and the occasional picture or printable? You start to see
all of those old holes, and the chunks missing, and it all of a sudden is just
this hideous big brown thing that you’re supposed to keep on the wall…

Well, I’m going to fix all of that, at least for myself.
There will actually be two makeovers, as Leah is also working on hers for Part
2. Today’s post will be mine (since mine is finished now).
Here is what you’ll need:
- · Fabric- I would recommend either home deco fabric or a printed burlap for this. For a bulletin board this size, I needed about a half yard of a 54” wide fabric. If you’re using a 45” fabric, I would recommend getting a full yard.
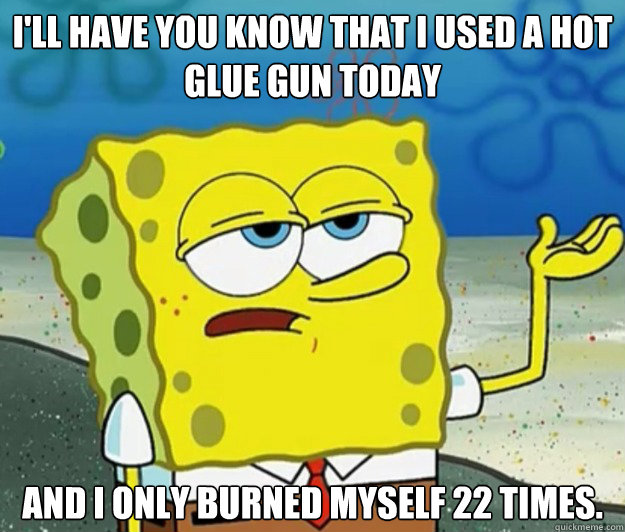
- · Staple gun/hot glue- I had originally planned on using my trusty old staple gun for this project, but I realized too late that I had no idea where the rest of my staples were….so a hot glue gun came to the rescue.
- · Fabric shears- you’ll need to trim some fabric off. In dire emergencies, normal scissors will work, but knowing how to sew, and working in a fabric store in the past, the idea of that makes me cringe
- · Bulletin board/cork board
Alrighty, let’s get moving here.
First, you’ll arrange your fabric over the front of the
bulletin board. My fabric was fairly difficult since it had straight lines (I
know that doesn’t make sense, but if you’ve ever tried to match fabric or line
striped/squared fabric, you understand the dilemma). A randomly repeating print
will work best. Think floral or dots.
Now if you’re using a staple gun, it’s a lot easier here.
Just start securing one side of fabric on the back of the frame, and you’re
golden. Repeat on each side while pulling tightly, and you’ll be all set. With
a glue gun, though, it’s a little harder.

I used painter’s tape to secure one side of my fabric onto
the back of the board so that it wouldn’t move when I fully flipped the beast
over onto the floor. Then, I stretched the opposite end over to the back, and
hot glued it into place, making sure to fold under a bit of the fabric so that
it wouldn’t fray at the edges. Make sure to press down on the fabric over the
glue so that it secures a little better.
After that side is dry and secure, remove your tape from the
opposite end, and repeat the gluing process. After this side is dry, wrap the
remainder of the fabric to the back (as if you are wrapping a present), and
pull the fabric tight. This will remove any slack on the front so that you have
a tight, clean look to it.
Repeat the gluing process on each side, and then you’re done!

Now you’ll have a more “adult” version of your bulletin
board. You can leave it totally blank as art, and also use it as a functional
command center, reminder center, or an office accessory! Ignore the wrinkles, I didn't have an iron, so... this will need to be steamed soon!
Our next bulletin board makeover will also allow you to keep
the functionality of the piece while dressing it up a bit (with an added bit of
function)! Think paint, clothespins, and twine.
See you then!


Comments
Post a Comment