Reveal! Office Chair Overhaul: Re-do
Sometimes a DIY project just doesn't go the way you would have liked. That's how the original Office Chair Overhaul (Part 1 & Part 2) was for me. So when I ran across some side-of-the-road chairs, I took the opportunity to make up for my design regret.


Last week, I started to paint the two chairs, but hadn't yet decided on the new fabric for the cushions.
Well, I finally made a decision (and did a second coat of paint), and ended up going with a navy blue twill. I figured it would go nicely with the gray, and the colors I typically have in the house on a day-to-day basis.
Remember this terrifyingly hideous fabric?

Say your farewells to the cornucopia and harvest fruits and wildflowers. Bid adieu to the crusty old chenile and the flat uncomfortable cushion. Those days are O-V-E-R.
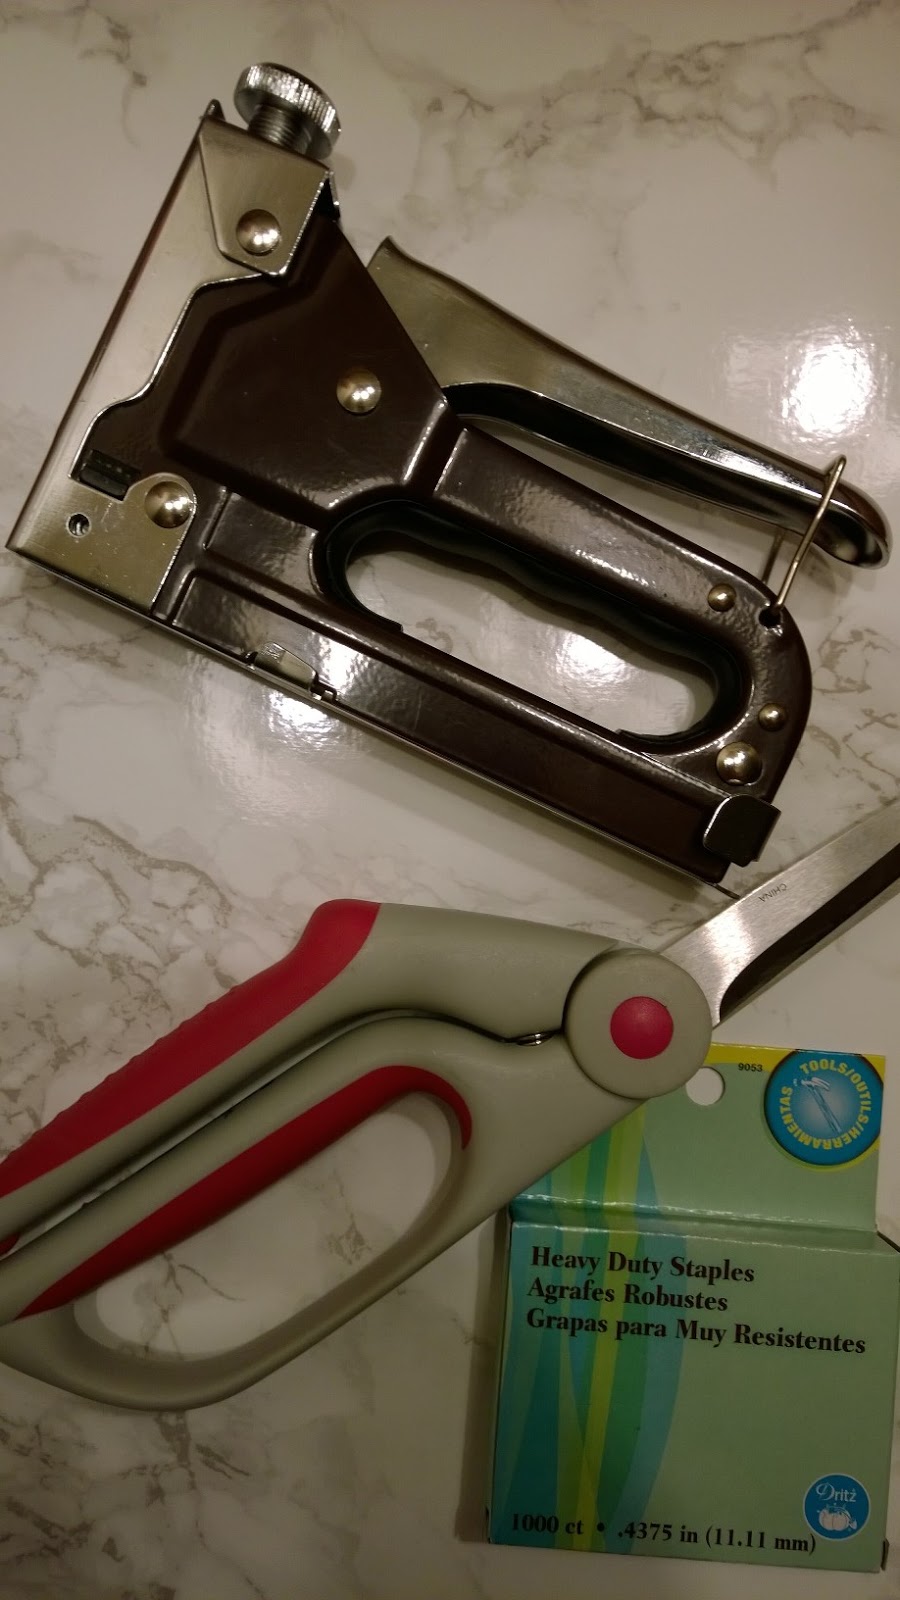
After cutting my fabric to size (leaving approx. 2" extra along the edge for wrapping and stuffing purposes), I stapled my new fabric to the very back portion of the cushion. I slowly worked my way around on each side, leaving the front edge open so that I could add poly-fil to amp up the cush-iness so that these chairs didn't have seats as flat as an ironing board.


My corners still aren't perfect (the underneath still looks super sloppy), but the stapler was cooperating very well today, and I'm blaming the weird shape of these seats for any additional weirdness. I tried to wrap the cushions like presents around the corners so that they were uniform.
Not perfect, but not awful.
Then it came time for the Poly-fil. I go a 20 oz. bag for about $8 at Hancock Fabrics, and I didn't use even half of it, so this was definitely cheaper than adding foam!

My biggest fear with using this was the possibility of lumpy seats. But adding the puff after the three sides had been wrapped made it no problem at all. It was easy to evenly distribute the Poly-fil in the fabric pocket, and test the puff repeatedly until I was happy with the thickness.
I repeatedly stuffed & sat on the cushion, then made Aaron sit on the cushion before making the final fabric wrapping, and stapling the front edge down. These corners are hideous on the underneath, but.......no one is going to see them unless they a) read this blog, or b) come over to my house and flip the chair over. Oddly enough, both of these occurrences are equal in likelihood.


After the final staples went in, all I had to do was screw the cushion back onto the chair, and then they'd be finished!

One last before shot....

Ew.... yeesh they were ugly.
But after a little paint, and about $30 in fabric and Poly-fil, I have two "new" chairs! I really need to get a better spot to take pictures of furniture pieces...

So much better than those old, neglected chairs that were left abandoned by the side of the road.


I'm actually really happy with how these turned out, and I'm really glad that I have a matching pair! These will work perfectly in the office for now, and will work well in the dining room as the head-of-table chairs when we have people over for dinner and need to expand the table.
And they will always fit with whatever styling mood I'm in since they will pretty much always match the color scheme!
On to the next project! I'll be doing a Quick N Easy post here soon to show you how to make a wreath for your front door for any season/holiday/occasion. Stay tuned for the tutorial and supply list!
I'm just going to enjoy the end result of these chairs in the time being :)


The way that couches and chairs are decorated to match the colours of the walls and other furniture is what I like best about office design. Your office chair gets a makeover with new fabric and paint. The colour scheme is absolutely stunning. I bought brand-new office chairs for my office a few days ago from value office furniture. My employees really like the office furniture I acquired in keeping with the colour of my office walls and the space available.
ReplyDelete